Starting out your will need a few things
- You will need an 80% Lower
- You will need to choose your jig
- 5D Tactical is the one I chose because of it's versatility and long life design.
- You will need a recommended milling tool
- I chose Dewalt router recommended by jig manufacturer.
- Model DWP611


If your doing marking it's best to plan out and print off then make sure the prints fit the surface.


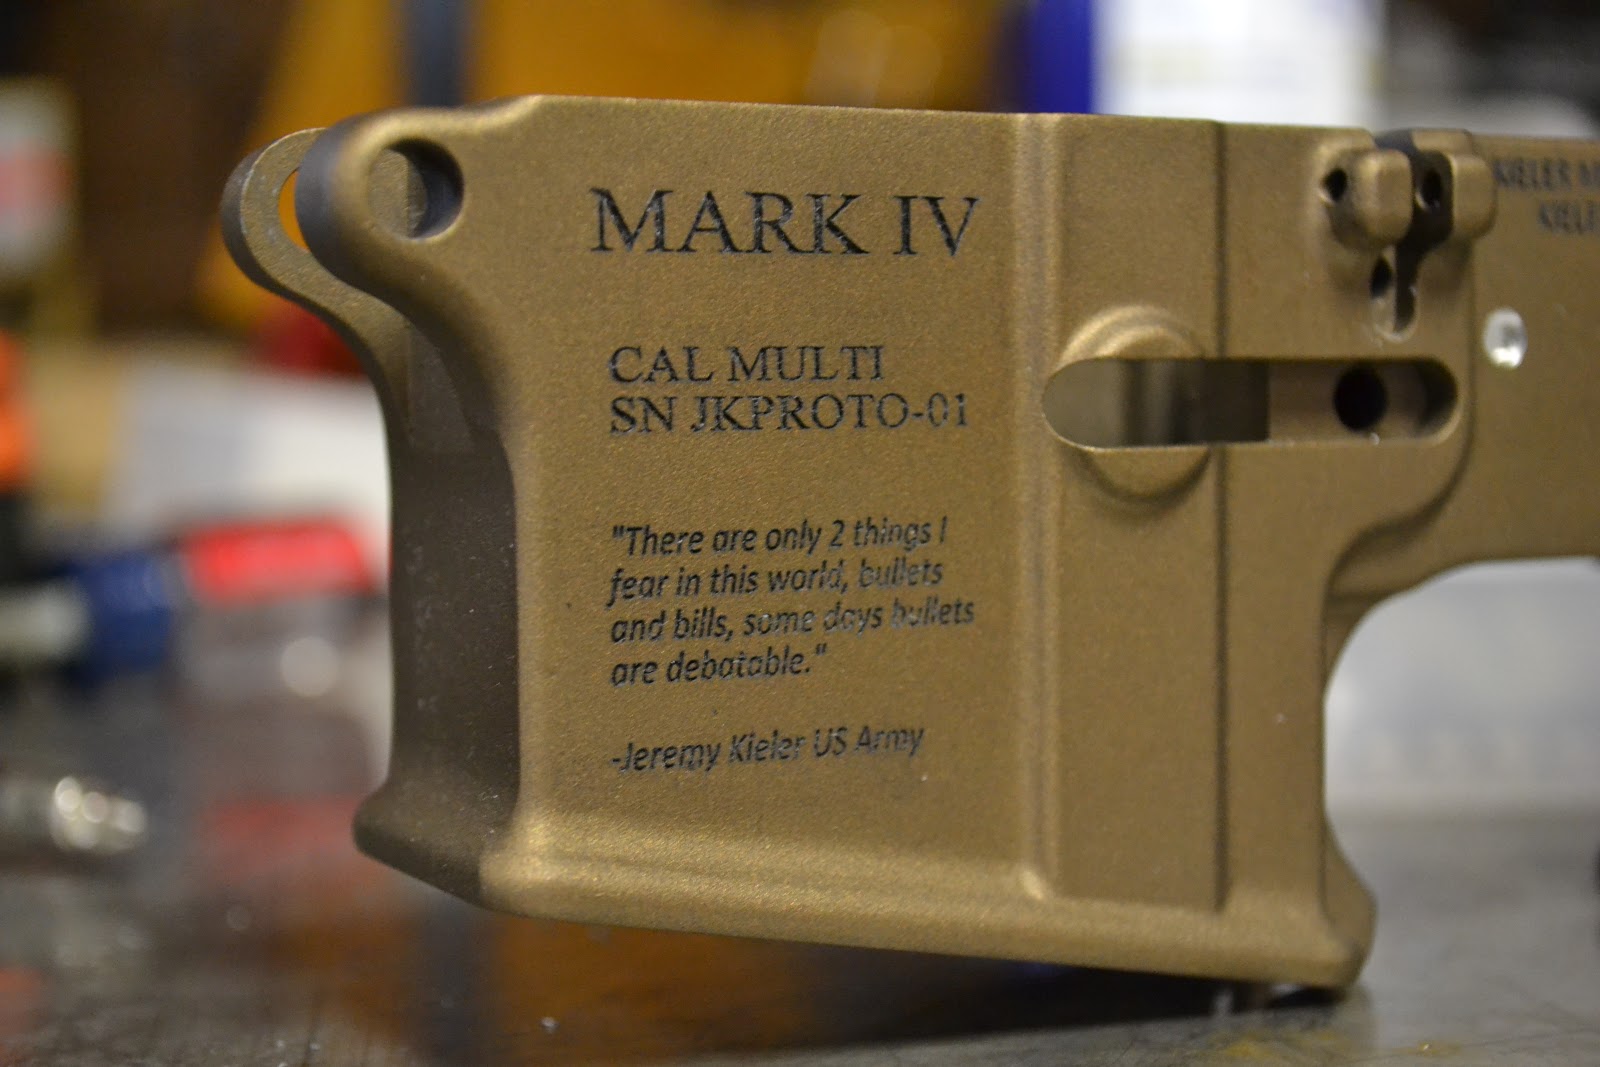
After everything is figured out you will send out to an engraver. I had sent mine to be laser engraved to ATF standards.


As you can see it's hard to make out with the brightness of the aluminum.

From here I decided to do some inlay work with enamel paint.


The real trick after filling crevices is removing excess paint without wiping our of the grooves.


My engraver screwed up on the font for safe and fire. One side is bigger than the other.


My 5D Tactical jig that came in was beautifully engineered. Should last for many gun builds.


These guys make a great product. Very well engineered.


More parts arrived.


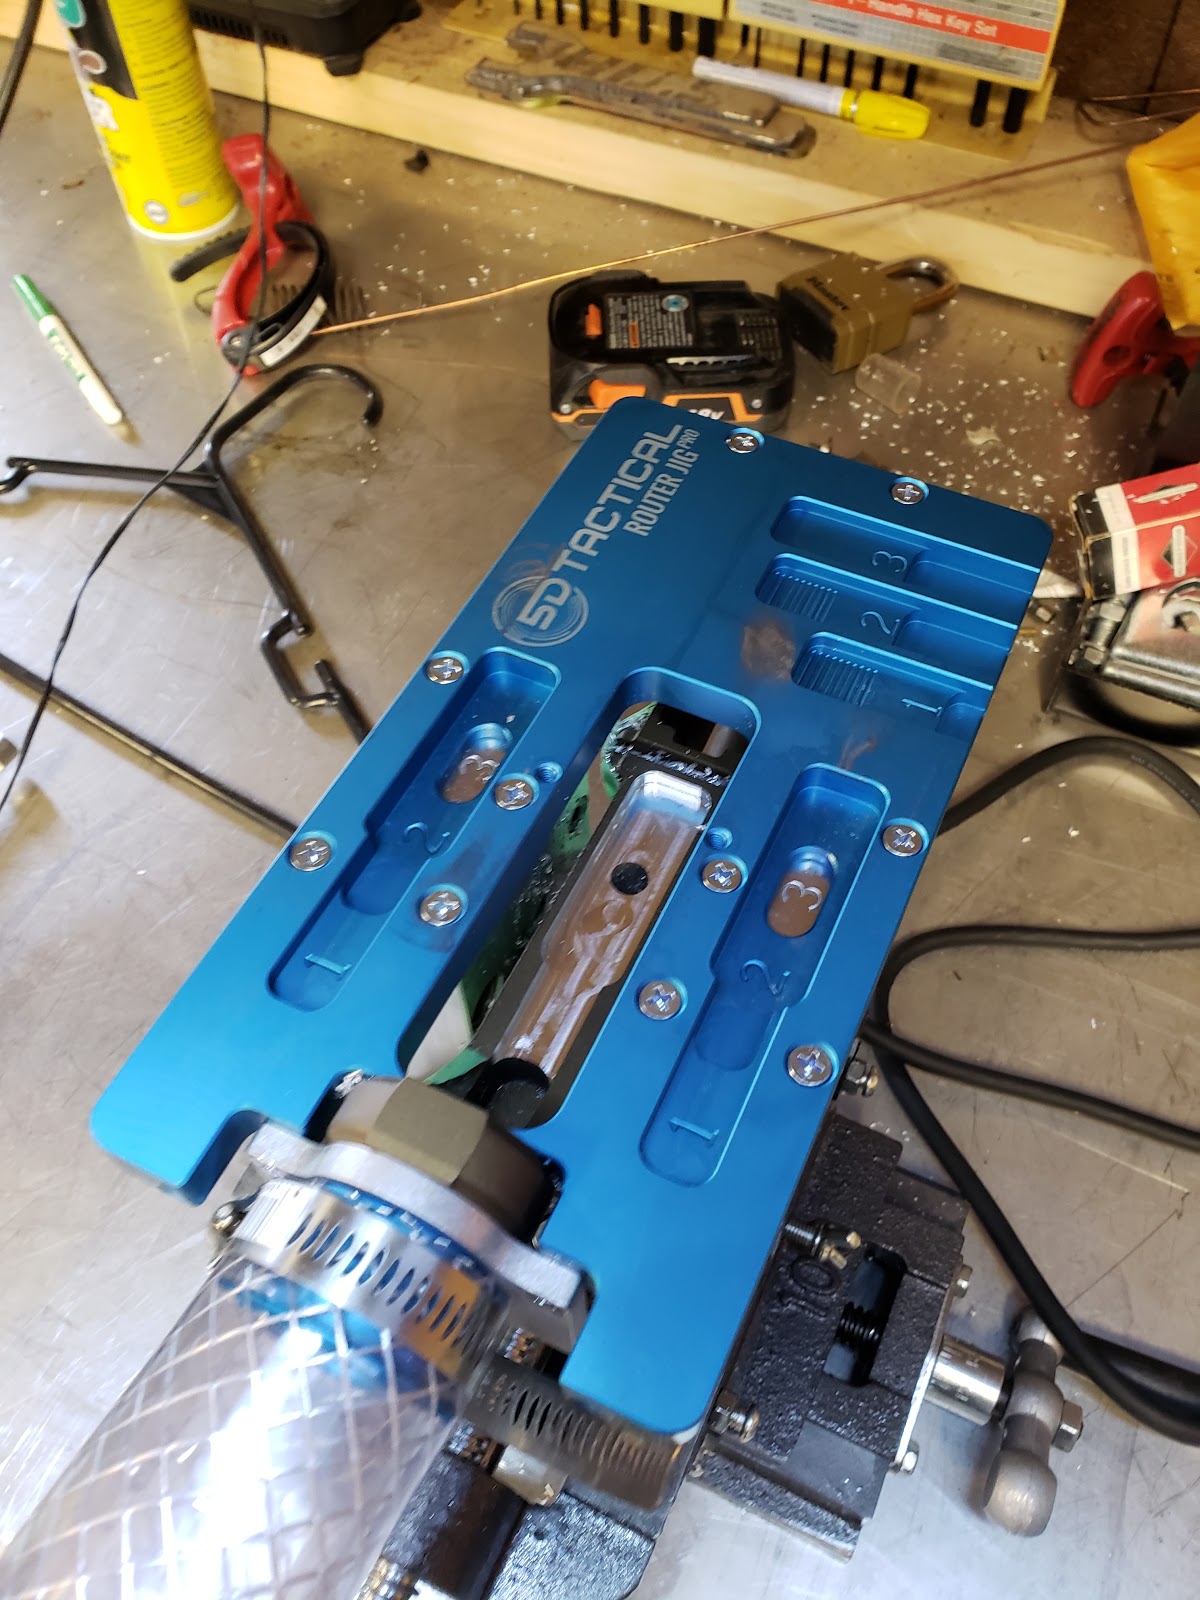
Assembling the Jig for the lower receiver milling process.


It's highly advised to tape the receiver up in order to protect the work already done.
Protect the Burnt Bronze Cerakote finish.


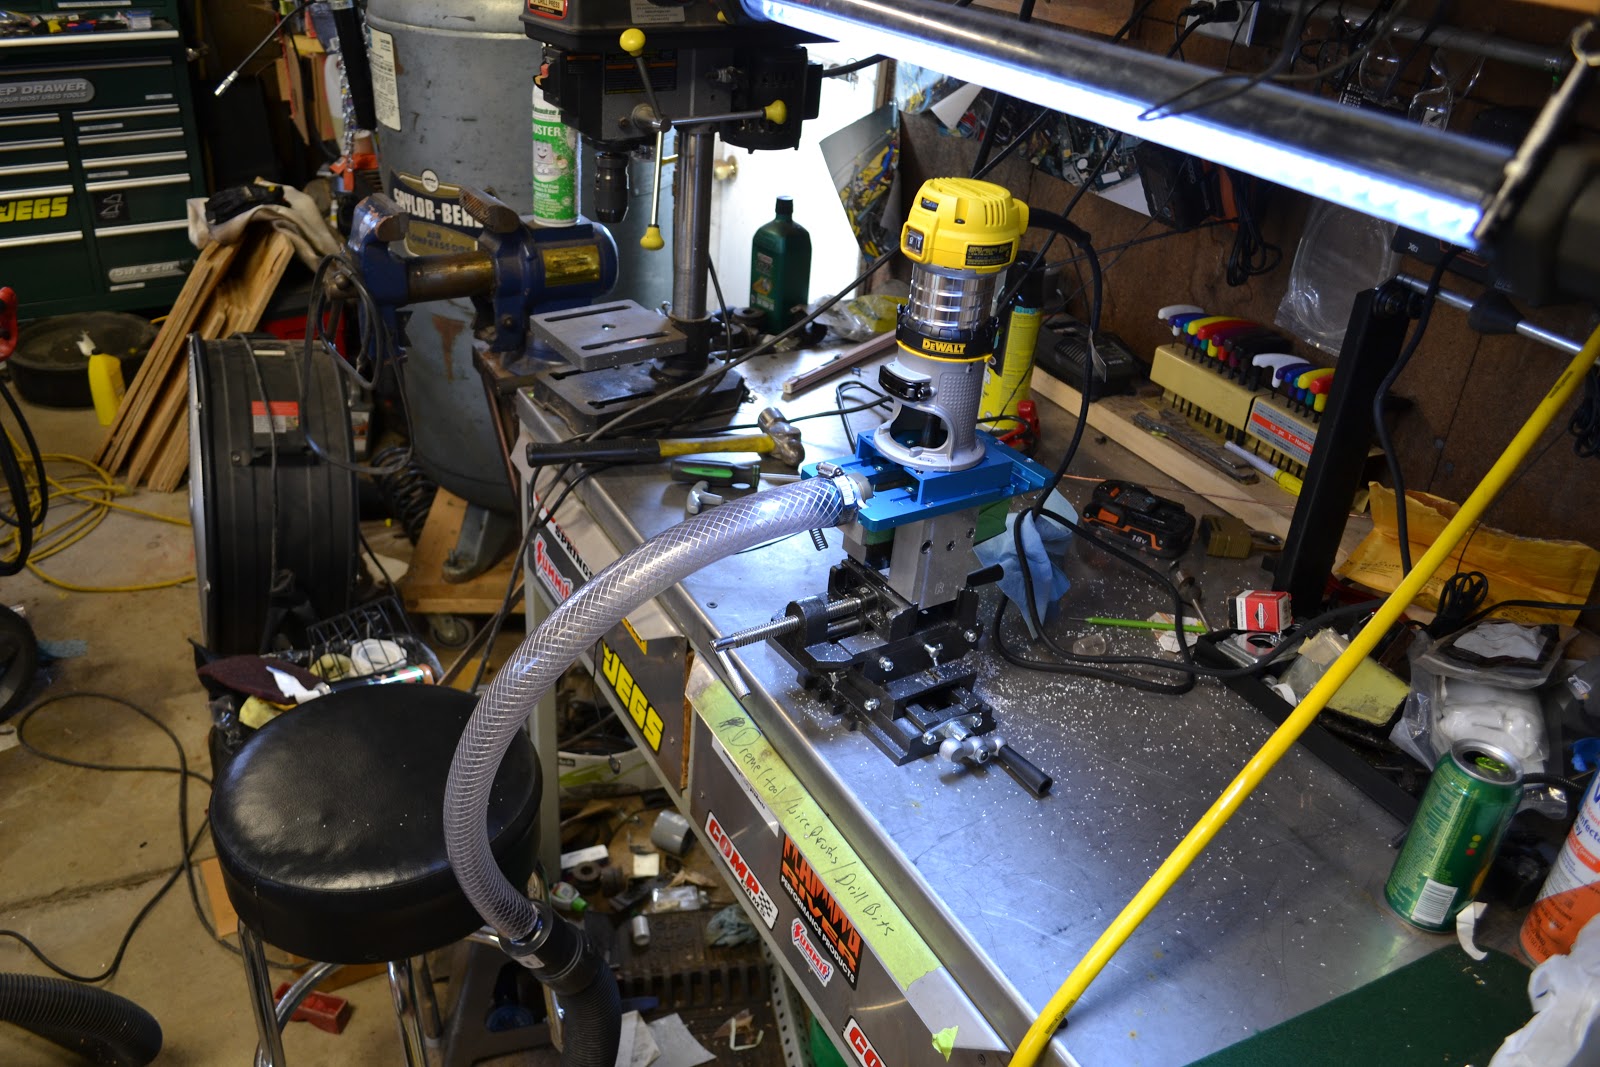
Setting up the router for milling


I actually had the adapter on backwards in these pics sorry. lol
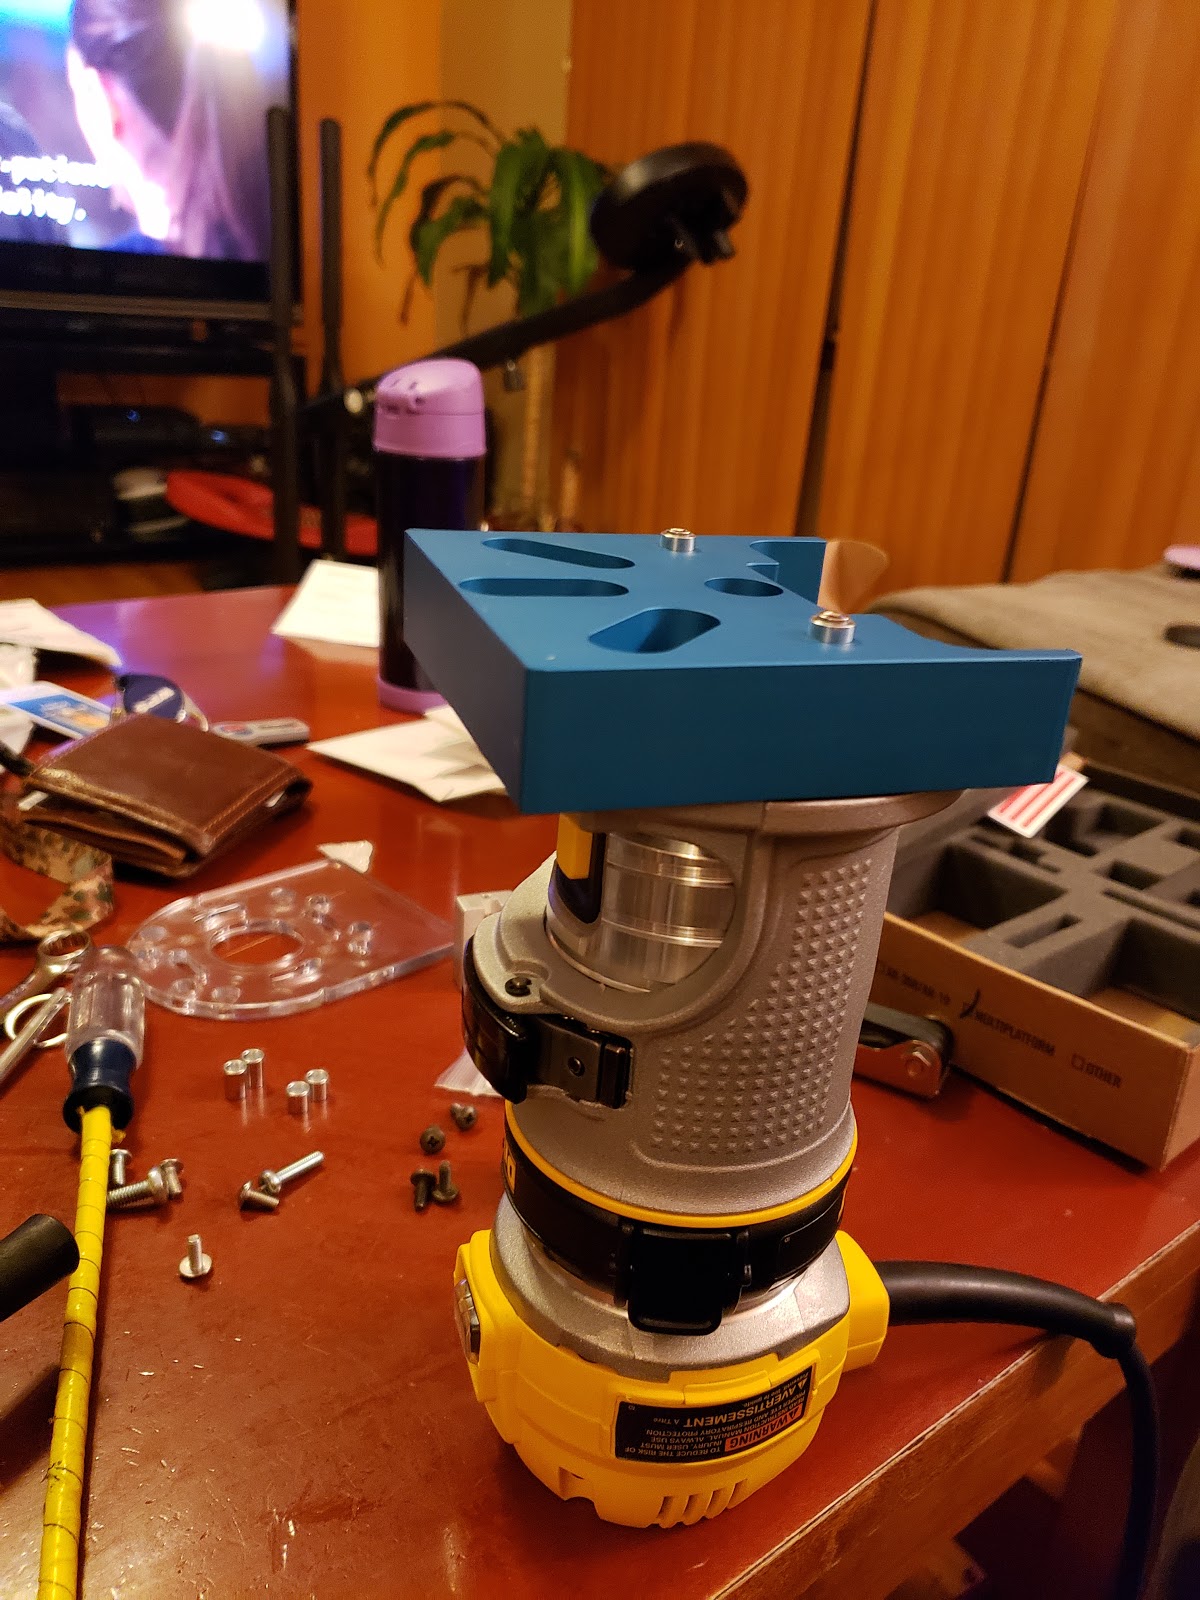

This pic shows adapter oriented correctly.
Also I am showing the depth adjustments. You will adjust after each full run. You will start in the pilot hole once it's drilled.

This is where I begin drilling the pilot hole where. Each time you run the router for a swipe you will start the mill in this hole. Take your time while milling.


Bought some supplies from Menards to allow my Shop-vac to suck majority of metal shavings away while milling. This worked great.


This was my first time doing an 80% receiver so I really took my time milling.


There is a set of studs for each level of milling and these will follow the slots on the jig.


Here I display the stud with correlating section

Stud installation is a breeze.


Each depth gauge is marked with section number that it correlates with.
Note: On last run of section you should be extended all the way to end. I made the mistake of going just to the last notch and found I wasn't deep enough to have safety function correctly.


Occasionally I was doing cleanup in between runs to keep things as clean as possible.


Came out beautiful


One completely milled lower and an awesome weekend project.


No comments:
Post a Comment