Kieler Militia Supply is here to educate the masses on their rights and help shed light on firearms. We are here to support the "Unorganized Militia" and "Organized Militia". --“I ask who are the militia? They consist now of the whole people, except a few public officers.”
– George Mason, Address to the Virginia Ratifying Convention, June 4, 1788
Translate
Saturday, March 26, 2022
Kieler Militia Supply Precision AR10 Build Start to Finish
AR10 / SR25 / LR-308 Build Project
Taking Hunting and competition shooting to the next level.
We are Dubbing this build the KMS-PR-MK I (Kieler Militia Supply- Precision Rifle - Mark 1)
Finished instructions for Engraver
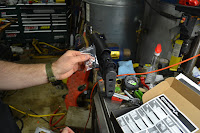
Parts finally arrived
Jan 17, 2022 Update below:
Time for an update on the KMS-PR-MK1
Previously we left off with the lower receiver being sent off for engraving.
WARNING NEVER SEND A COMPLETELY MILLED RECEIVER THROUGH THE MAIL! ONCE A RECEIVER IS MILLED IT IS CONSIDERED A FIREARM AND MUST BE TRANSFERRED VIA FFL DEALER. IF you plan on sending it out for engraving, leave it as an 80% uncompleted paperweight.
We actually got it back pretty quick this go around. I went ahead and sent it off to www.CustomARDustCovers.com since we were ordering other items from there. They are out in PA and had the part back to us within 2 weeks which I feel is fortunate.
The link above will list tools purchased and used. My Jig is set up to do both AR-10 & AR15 lower receivers. The link above will also show how the inlay work was done.
Next is to tape off the receiver and assemble the jig around the receiver in preparation for milling.
If you bought the pro jig it comes with different end pieces for the AR10 vs AR15
I always recommend you tape things up before assembly. I use the Green Frogtape.
Also, before you begin milling you better have some safety glasses and/or face shield. Your router is being equipped with an endmill bit that is spinning at several thousand RPMs at any given point and you are cutting aluminum, so unless you want an unplanned hospital visit for the metal in your eyes you better wear safety equipment to protect yourself. You may also want to think about hearing protection as well.
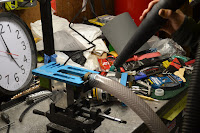
Once you're all jigged up you will need to drill your pilot hole. This is where you will start the milling bit at each pass. You will take this process step by step.
Instruction will say use WD-40, but if you have some cutting oil on hand I would use that for drilling.
Now if you have one of the larger tubed shop vacs, you will want to make yourself one of these attachments. Refer to the link above for materials sourced for adapting your jig to the shop vac. This Significantly cuts down some of the mess as you run the milling process with your router.
Content Creator and Army Veteran
NOTE: TO PREVENT DAMAGE ALWAYS MAKE SURE THAT YOUR ROUTER HAS COME TO A COMPLETE STOP BEFORE PULLING OUT OR PUTTING IN THE PILOT HOLE.
Too many times I have heard of people getting into a rush during this process and catching the side of your receiver can be catastrophic and dangerous if that router still has the bit moving.
After reaching each level of milling you will need to change the router guide pegs to the next level longer pegs.
here installing the next set of guide pegs
Here I am readjusting the depth for another pass.
Here I'm putting out how the milling replicates the cut on the top plate. If a person wanted to make a full auto receiver they would have to mill this top plate with an endmill. It is illegal to make a full auto AR without proper licensing and paperwork.
Here I am pointing out the tick marks. Each pass you make you will adjust the router depth from one mark to the next till you hit the end of the milled-out area here on the plate. Be sure to go past the tick mark and bottom out to the number 2 section or you will have issues with the trigger working.
Here I am moving to step 3 in the milling process.
Here I am swapping out the pegs to the longest one for fia nal pass which is the trigger hole at the bottom.
Here I am setting the depth for the final pass.
Here we are starting as you have throughout this in the pilot hole.
Next step we are going to drill our safety switch hole and our trigger pinholes.
Ths is the point where I used cutting oil spray. It sticks and lubes better for drilling.
AT this point we have only finished the milling part and this takes a while to do it right and it takes longer than 30 Minutes unlike what politicians have said. The only way to do it really fast is to have a Ghost Gunner CNC machine which most people are not going to splurge for. Especially your common criminals.
Ghost Gunner 2 took 4 hours to mill the receiver
Ghost Gunner 3 still takes over 30 min to mill the receiver
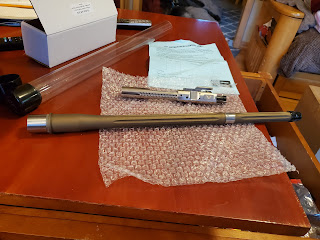
KMS-PR-MK1--AR10-Barrel Feed Ramp Polishing and Upper Receiver Work
The starting point. Wilson Combat Super Sniper Barrel in .308 Caliber. To keep debris out of your barrel plug it up. You don't want material going down your barrel. As always wear eye protection when working with power tools or anytime there is potential for flying debris.
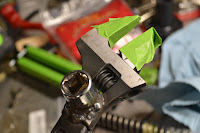
Some tools and materials are needed. I use a Dremel and various buffing compounds and various buffing bits. I found this set shown below on Amazon. Again no one locally had something like this.
Here you can see the barrel held in my vice with my homemade soft jaws. Two pieces of plywood with magnetic tape to hold them to the vice works great, especially when you can't find someone locally carrying soft jaws and have scrap lying around. These compound blocks I had bought years ago from a truck stop.
Pretty basic stuff here you start with the roughest compound and work your way to the finishing compound. GoalThe goal is to get it to a polished mirror and remove all factory machining marks making the feed ramp as smooth and slick as possible without changing the angles.
Your end result should look like above and all rough edges your cartridge will ride should be smooth and polished as seen here. We don't want the cartridge to drag or hang up.
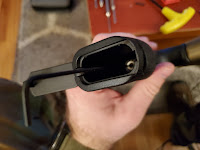
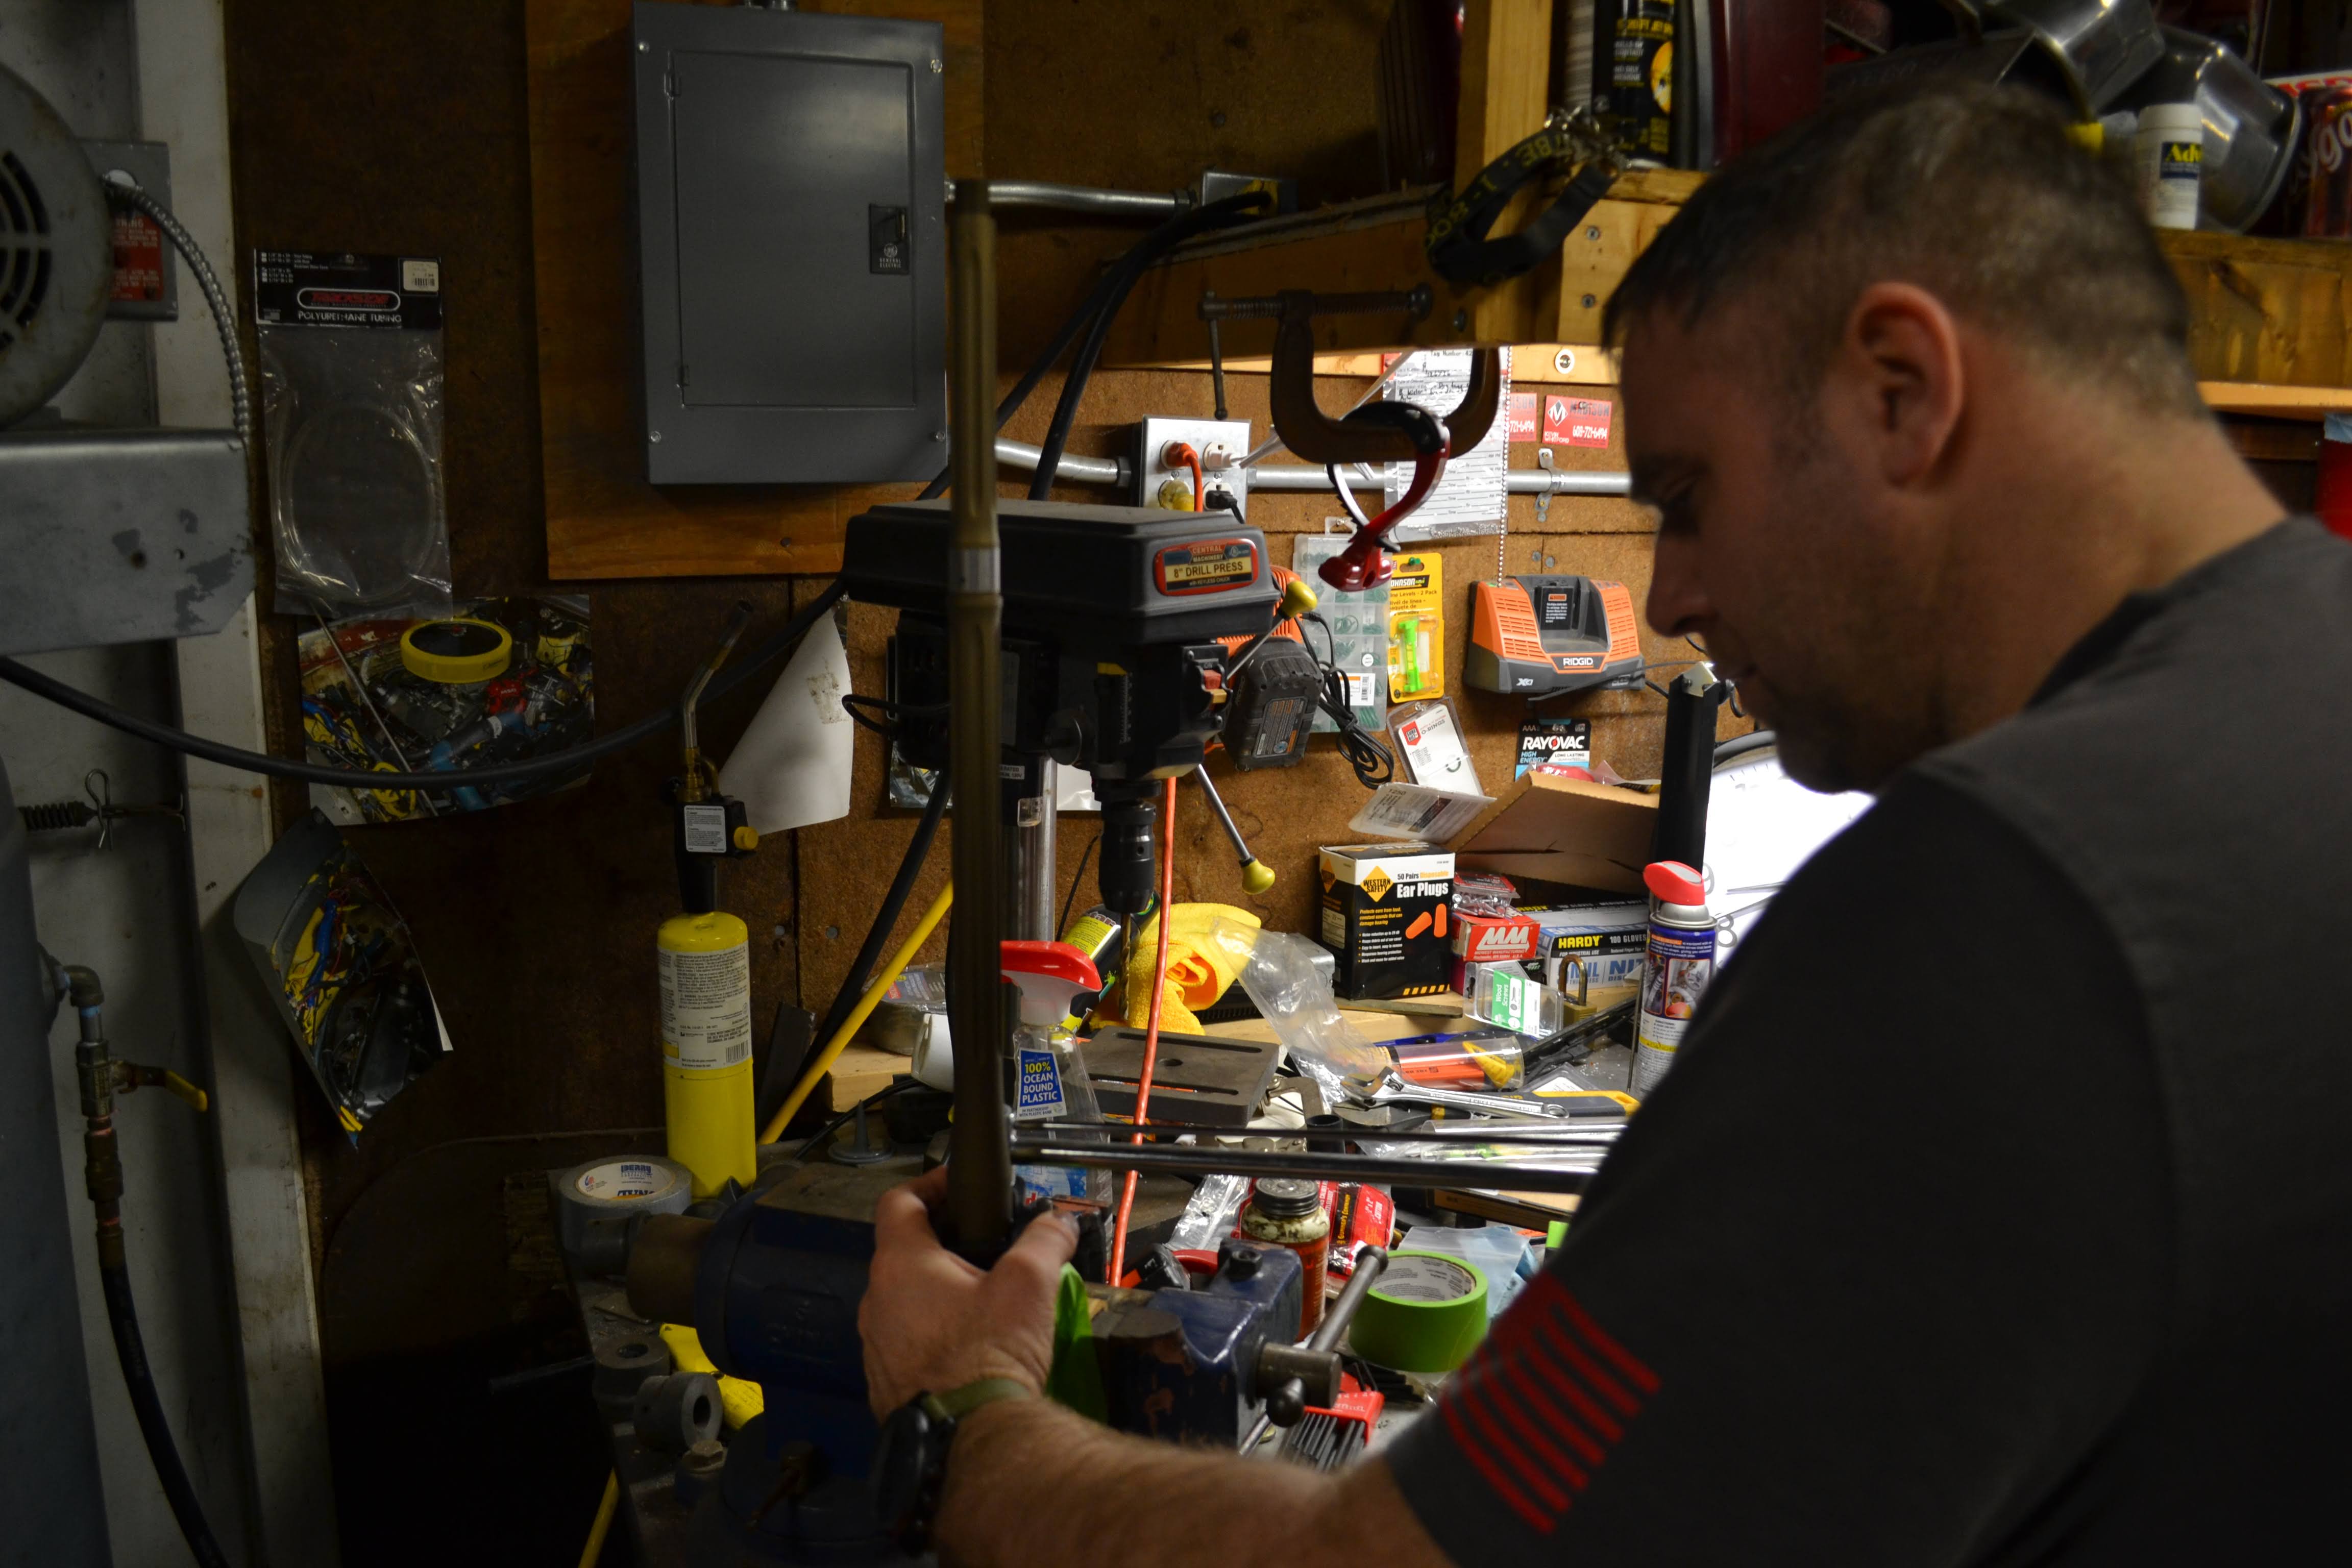
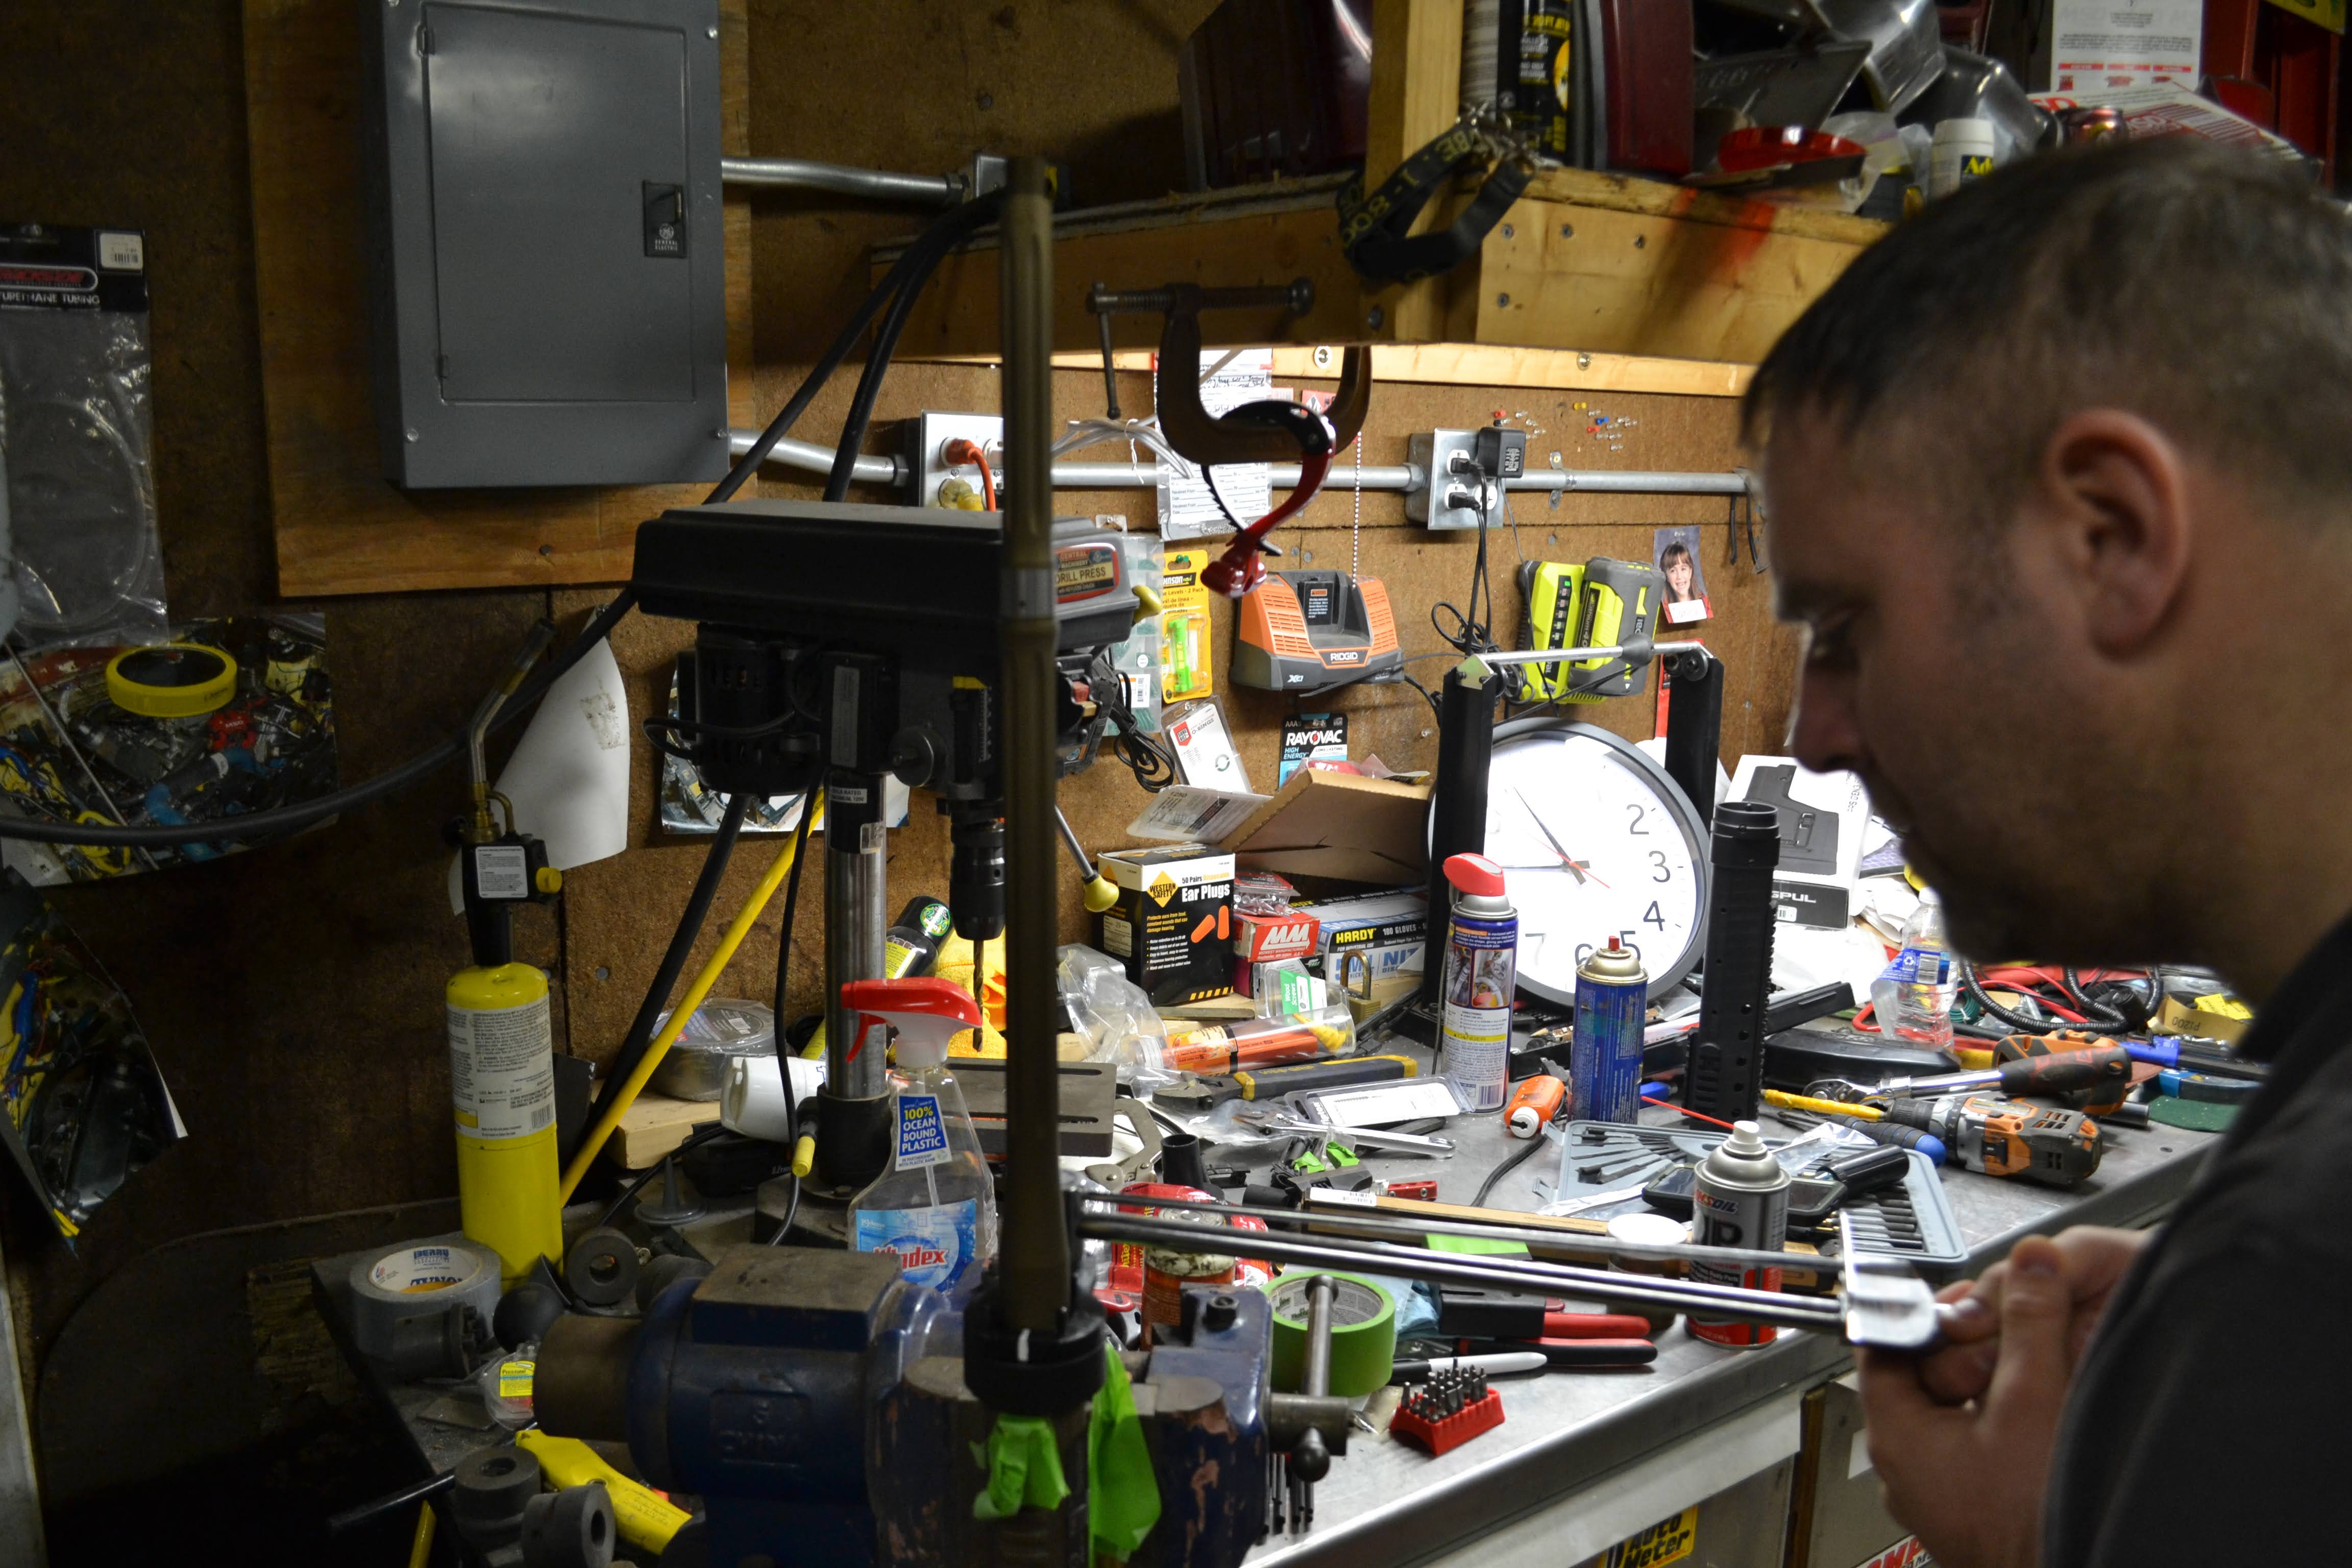
Upper receiver assembly and my trick to get the forward assist installed.
Now installing the dust cover isn't that complicated, it's all about aligning that spring as you feed the mounting rod through. Now if you wanted to go custom on the dust cover, this is the time to do it. Changing the dust cover at a later point would require the removal of the barrel. Now for instructional use, I have installed the standard dust cover, however, it was later decided that I will be putting another laser engraved dust cover on here with the 2nd Amendment. It's still in the mail. ,
Orientation of spring for the Dust Cover is shown here.
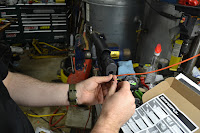
Next prepping upper for the installing the forward assist.
This will require installing the forward assist button, the spring, and the retaining roll pin.
You'll want to mount it in the vice so having an upper vice mount is handy.
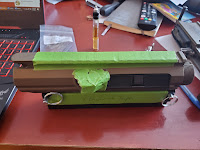
had some play in the mount so I added some layers of tape. 5 on each side
Anywhere you know you will be swinging a hammer and working with a punch you should tape to be safe just you bounce off the target, so I thoroughly tape the receiver off in case
My little trick to hold that forward assist in with that spring in place as I hammer that retaining roll pin is to use a couple of zip ties.
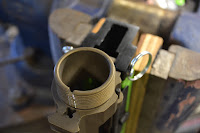
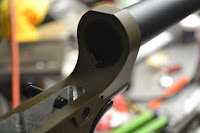
Another step you want to take on the upper is lapping the face of the receiver to true it up.
You can do this with Lapping compound 220 grit and a specially designed lapping tool that feeds down the throat of the receiver. You apply compound to the surface that mates up with the tool and you only need to take off enough to true it up. This helps with accuracy by allowing the barrel to mate up with the surface of the receiver evenly.
Beginning point
End Point
KMS-PR-MK1 AR10 Lower Assembly
For Trigger Assembly review this video from Brownell's Inc.
This is a little different from your AR15 as the takedown pin and the safety pin springs are all head in by the handle.
Once you get the spring pin and spring installed. This receiver is designed to have a threaded retainer pin put in instead of a roll pin for the bolt catch release button. I applied blue Loctite to this as a preventative to keep it from backing out over time.
1/16th in Allen is used here
For the grip mounting bolt. I swapped and add the NicTaylor00 Trigger kit.
The handle mounting bolt is threaded down the middle to allow tunability and take out all slop in the trigger.
Carefully feed pins and springs then gently push on the grip trying to take care in not bending over the springs and damaging them.
Now for adjusting this, use the Allen that was provided with the kit and screw inward while testing the safety function. This will push up on the trigger and take out the slop, however, take care when adjusting. If your safety no longer engages you have adjusted too far and you need to back the center screw back out.
This is an Anderson Stainless Steel Enhanced trigger. It's very smooth and my first time dealing with one. It installs the same way a standard mil-spec trigger installs.
Now I didn't capture the mag catch installation, but you can refer to this link here that has great details on it.
The receiver here was a bit of a struggle due to the machining being different from than standard AR Platform. So I had to leave the button threaded out a little further. than most for good positive release of the mag.
Further assembly. I will make mention of ProMag's AR10 Vice block which is advertised for AR10, SR-25, and DPMS receivers
A quick mention of problems I had with my new vice block and how I rectified the issue.
I bought this at MidwayUSA.com It was very cheap in Comparison to Real Avid, however, you get what you pay for. Real Avid Vice blocks are adjustable and are engineered superior in my opinion, but they are expensive.
(Kieler Militia Supply Precision Rifle MK1) our take on a precision AR10
Previously we assembled the upper forward assist and dust cover.
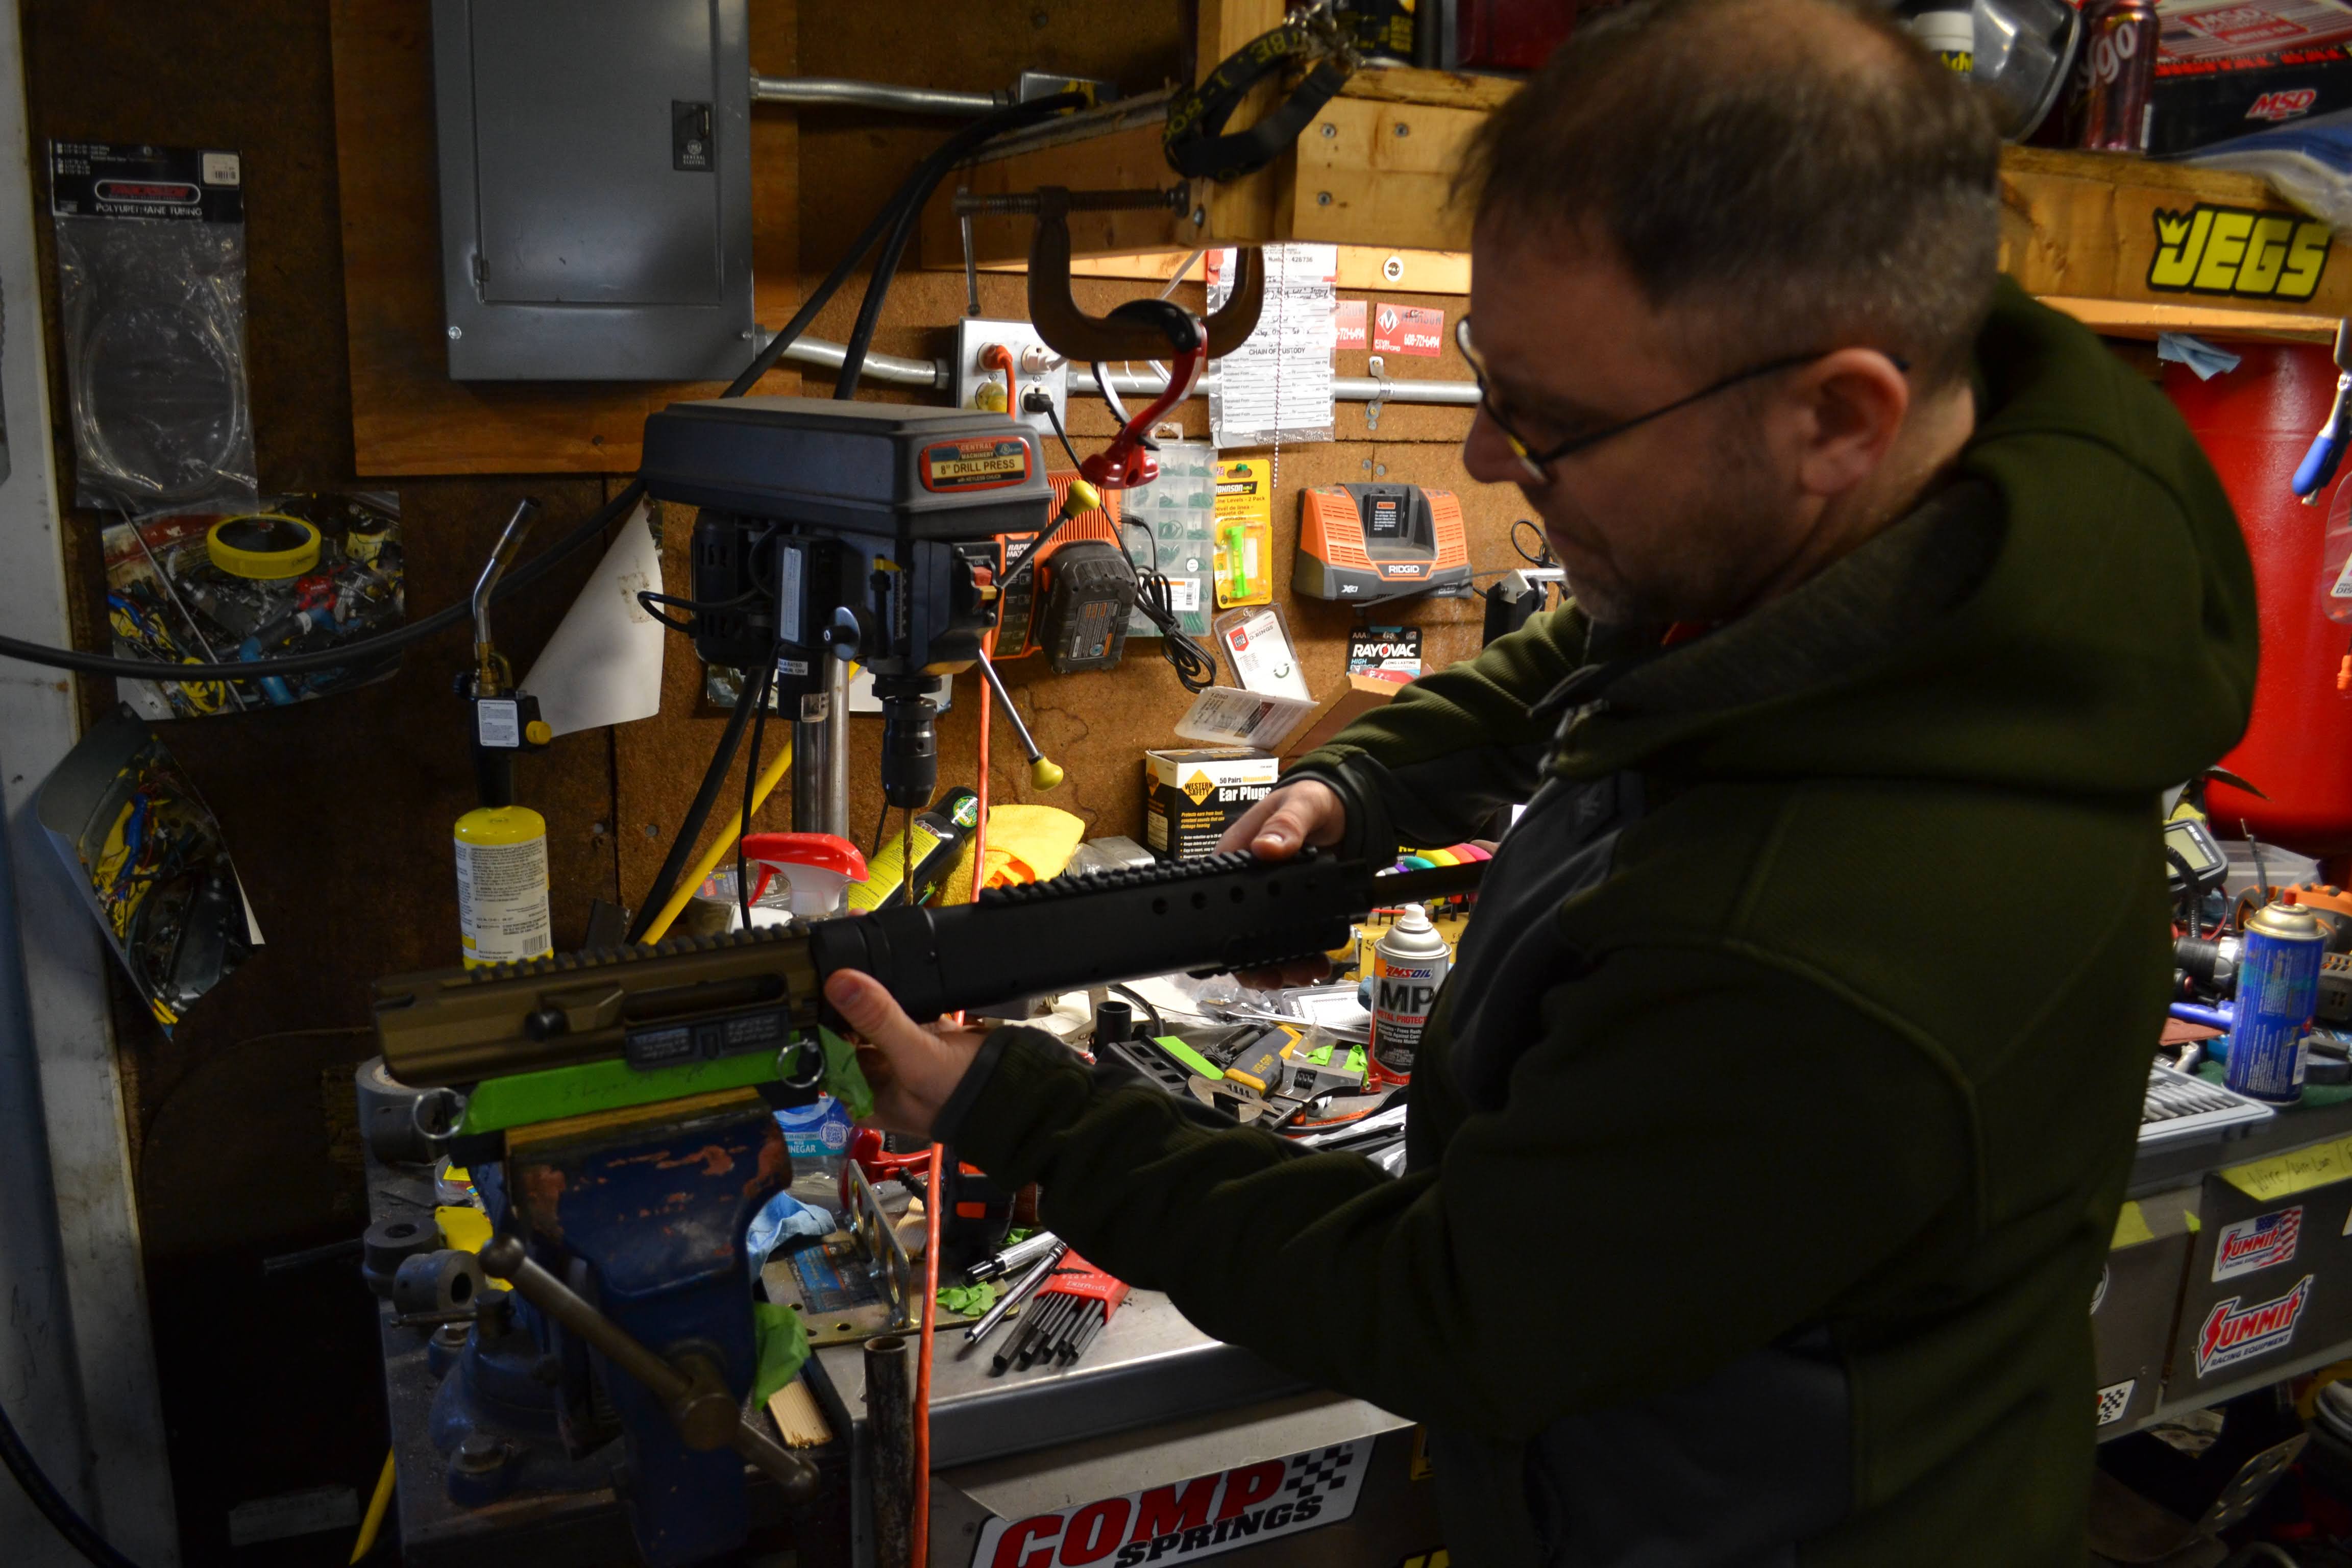
Now we move on to installing the barrel and full assembly of the upper.
We lucked out on the fitment of the upper to the barrel it was so tight that we are putting the barrel in the freezer to shrink the barrel extension just enough to fit it into the upper. Because of how tight it is we will not require shims or Loctite for bedding. As the metal warms it will expand even tighter. absolutely zero play between receiver and barrel extension. I've never had such a tight-fitting barrel to receiver match up. It could be the Wilson Combat Super Sniper barrel, or it could just be dumb luck with the Cerakote coating that was done to the upper. Either way, it's just the fitment we want.
This tool is a specialty tool required for the AR10 Precision Reflex barrel nut.
After torquing the barrel nut and finding the proper alignment for gas tube.
It's time to assemble the gas system. Here I am assembling the adjustable gas block.
Adjustable gas block allows for custom tuning of the gas system. Very handy for precision shooting also tuning for suppressor being added down the road.
Because we are using Precision Reflex Inc upper rail and foregrip some specialty tools are required.
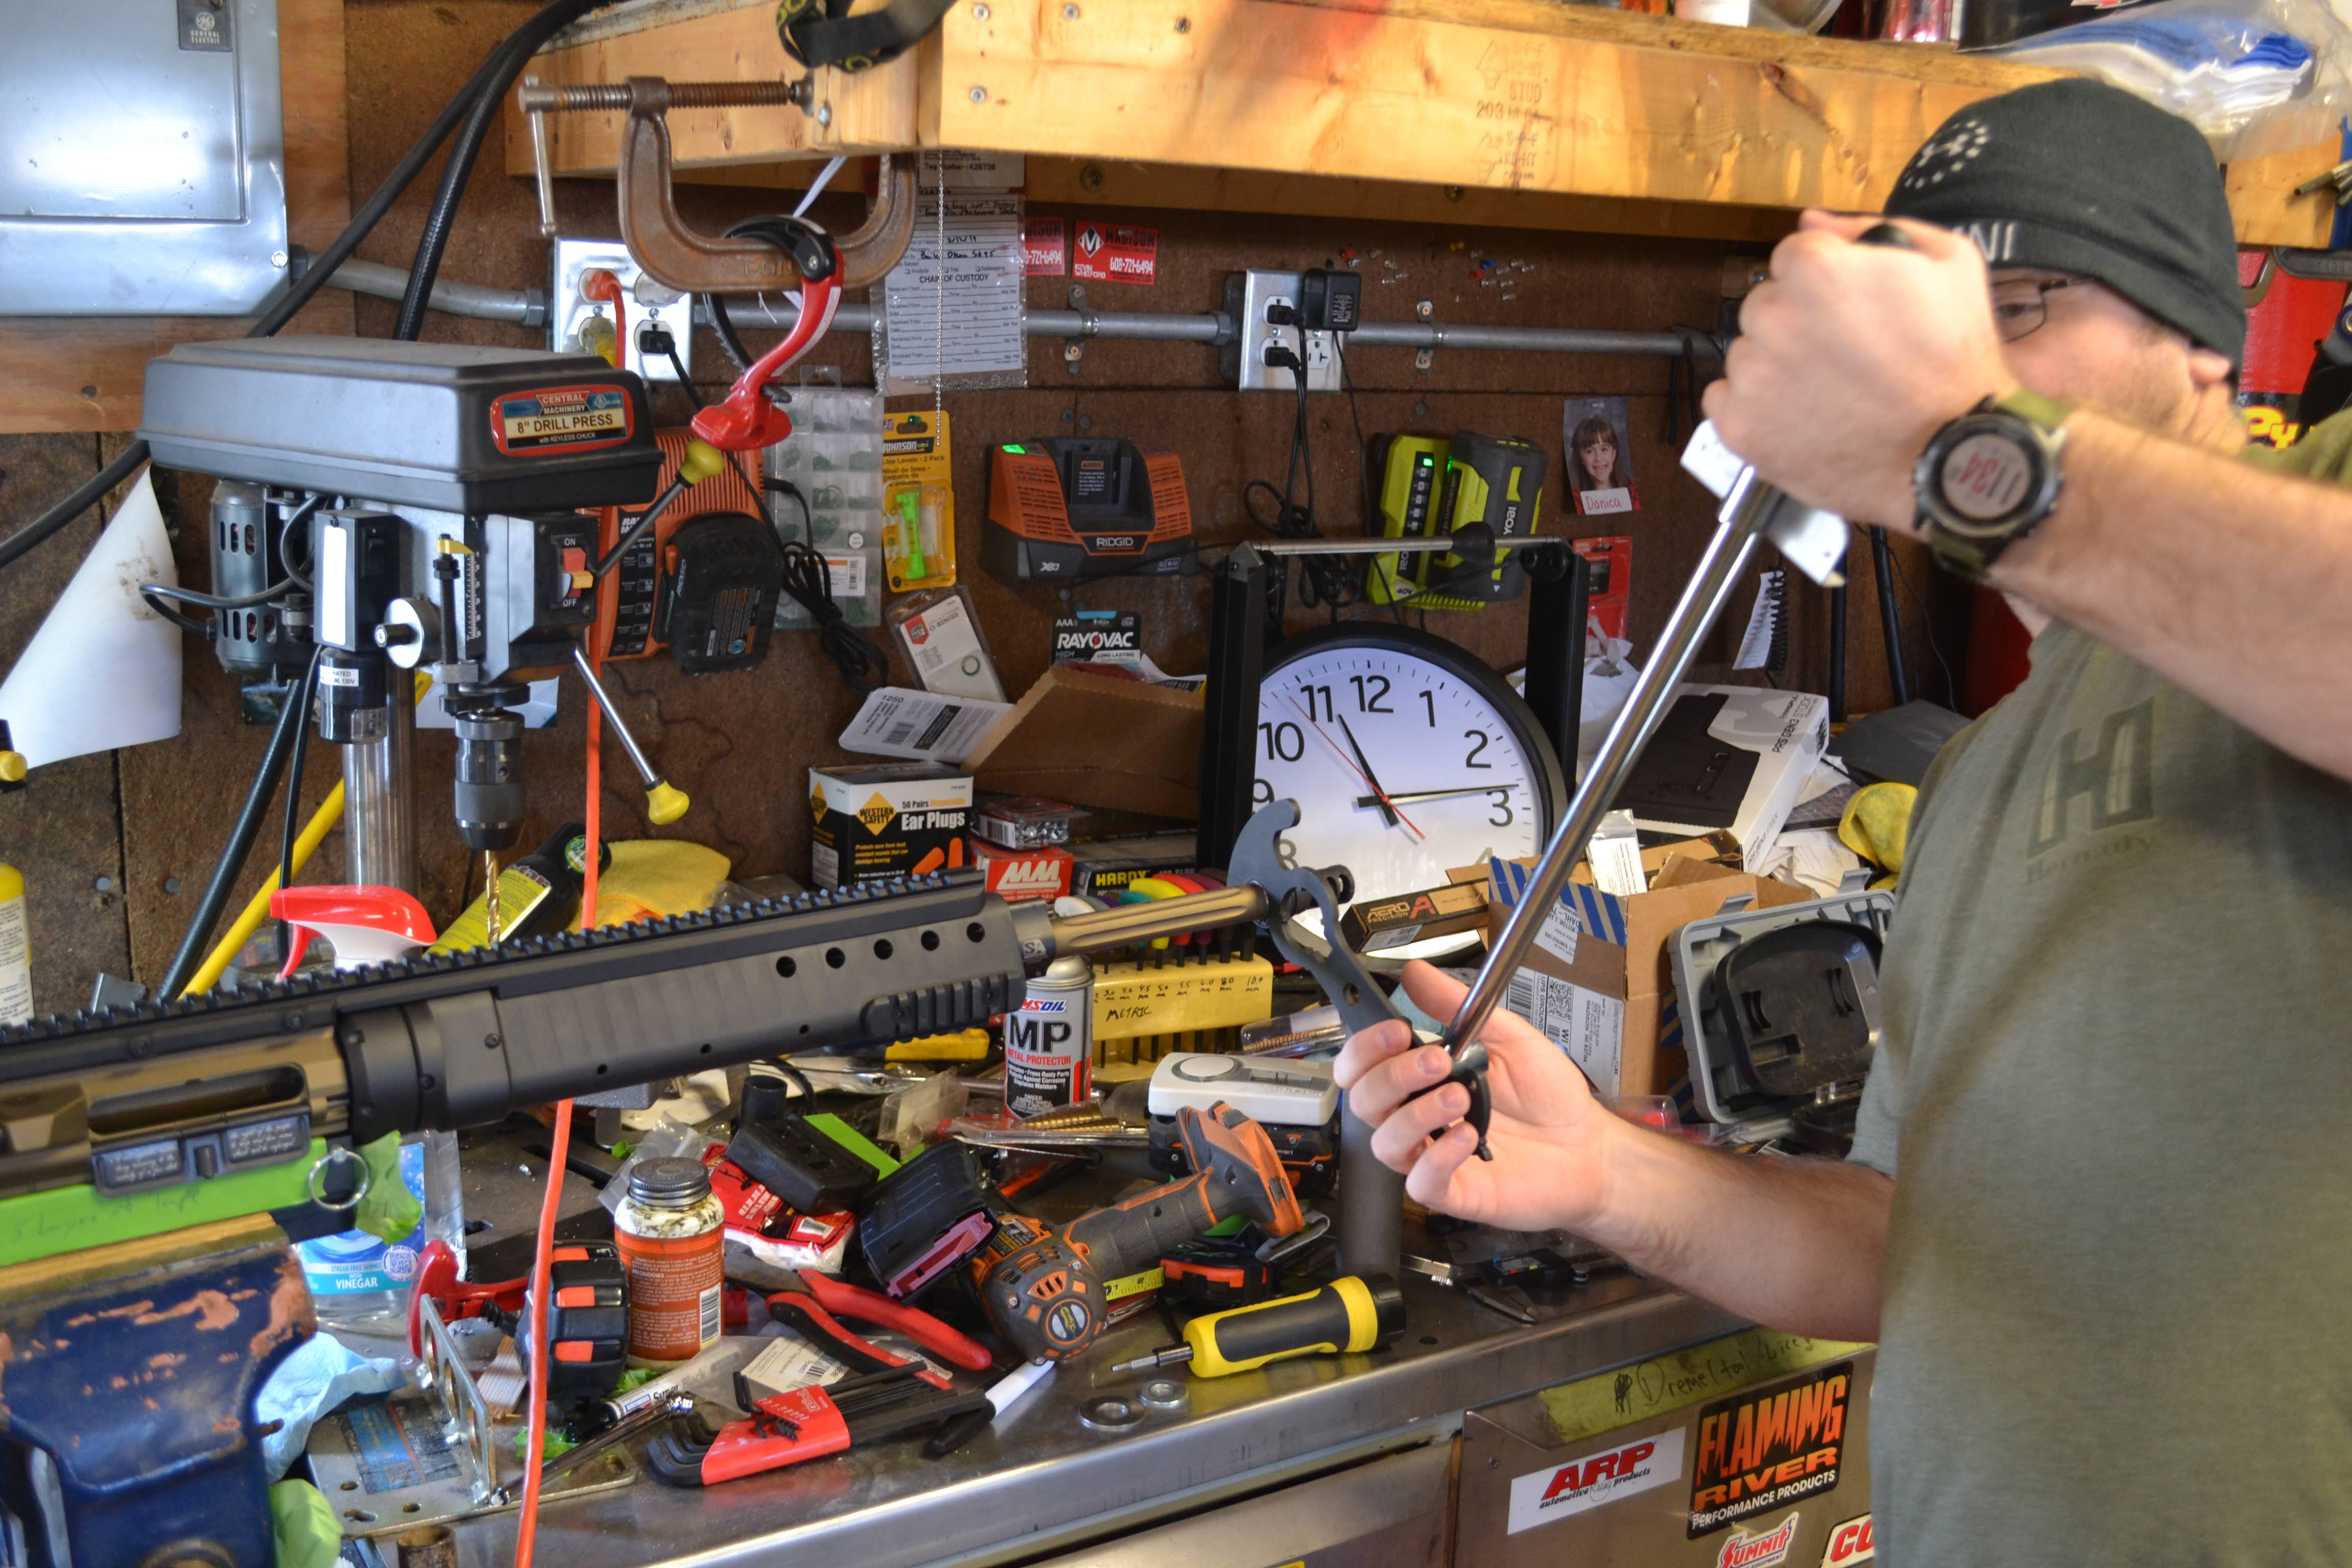
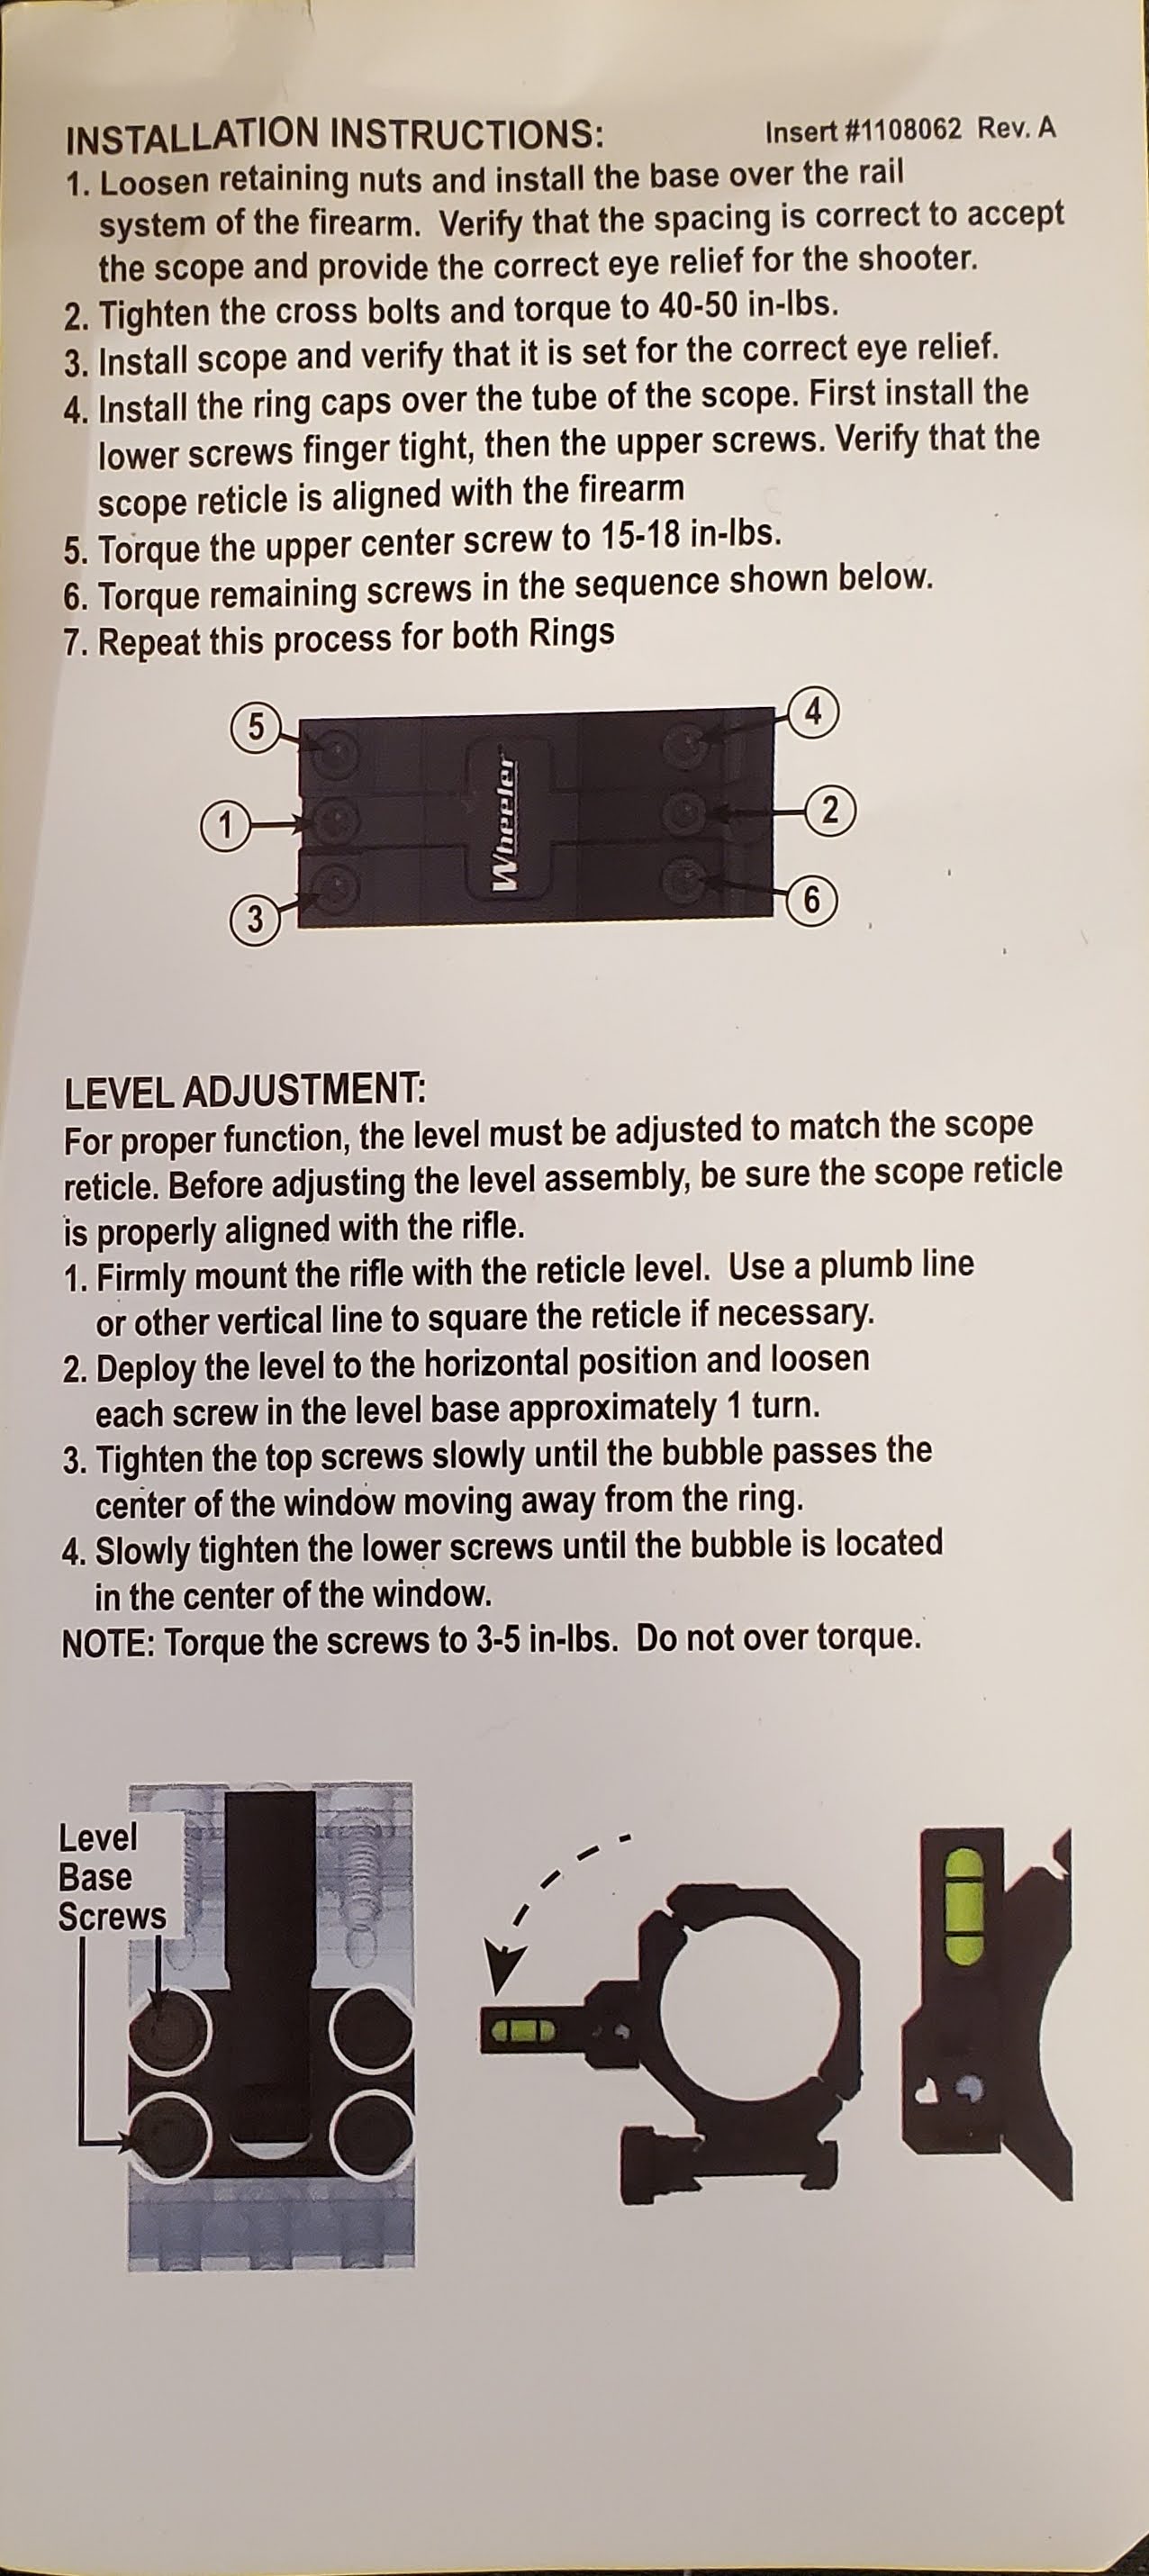
For scope mounting we opted for this Wheeler Cantilever Mount 30mm with a flip out Anti-cant Level
For scope we opted for the Vortex Optics Viper PST Gen II Riflescope 5-25 x 50 FFP with EBR-2C in (MOA)
Wilson Combat's Super Sniper .308 barrel is a 1:10 twist rate.
Final Product ready for test firing.
It takes a lot longer than 30 minutes, unlike ignorant leftwing politicians may say.


No comments:
Post a Comment