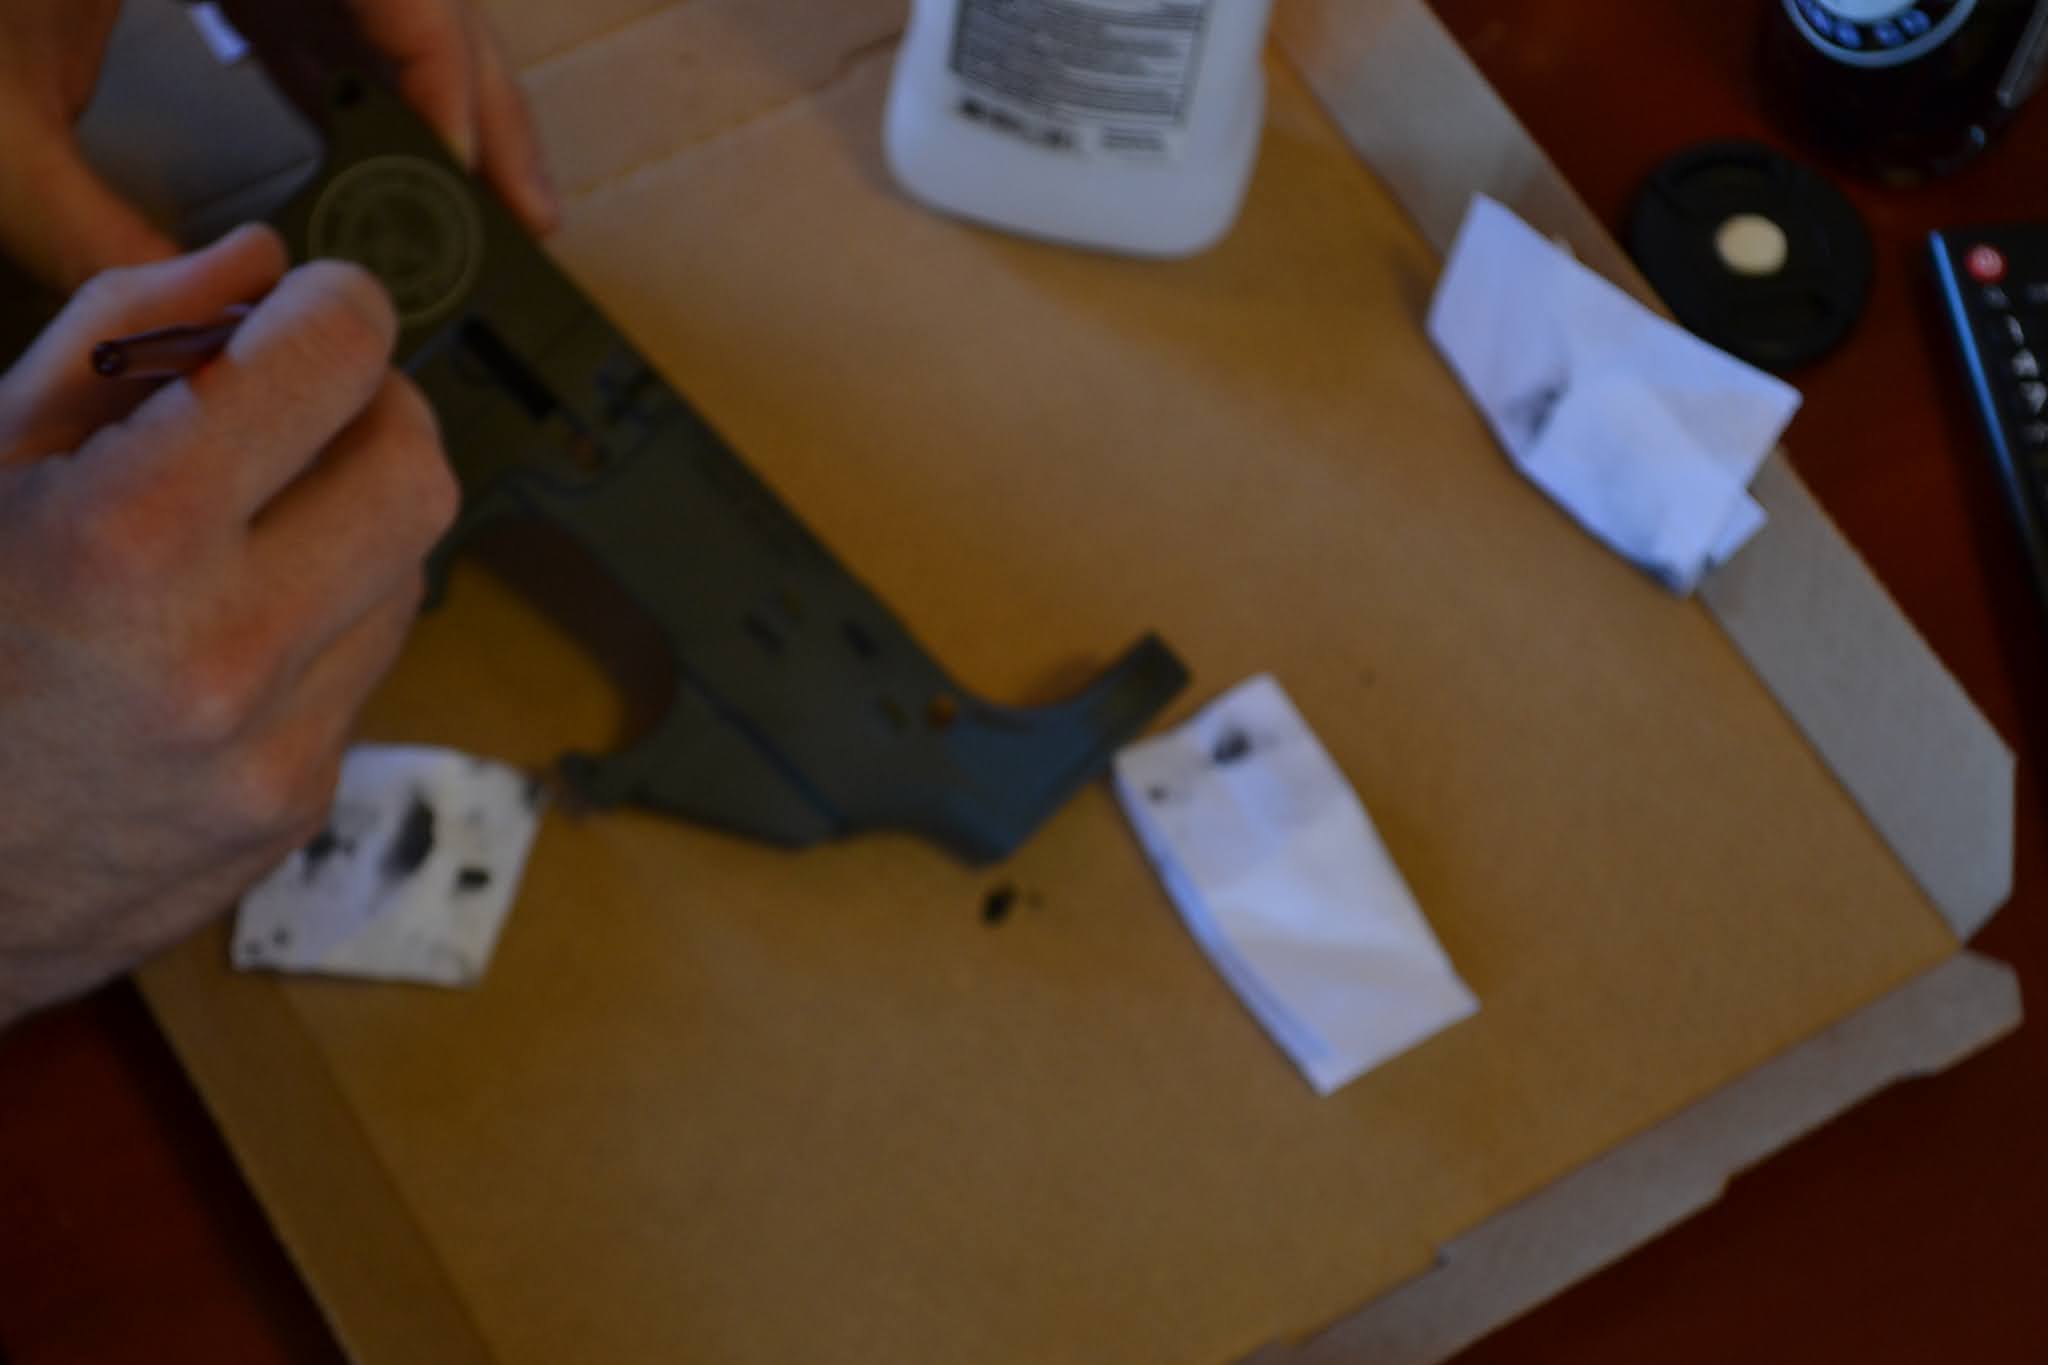
Project: Civilian Marksmanship Competition Rifle Build(continued) Day5
Barrel Installation
To get the best accuracy you need to true the face of the receiver and get rid of any play between the barrel and the upper receiver. Any bit of play will show up on the target downrange.
To true the receiver face you will need some tools and pending on how tight your lapping tool and how much coating is on your receiver you may need to use a drill.


Lapping tool I bought from Brownell's


Below is the lapping compound I used its just


You will spin it back and forth to true the face of the receiver to make everything even.


The next step is trying to get rid of any play and gaps between the barrel and upper receiver. Any play will show up downrange when shooting. The goal is to eliminate any play to reduce barrel whip.
This process will take some trial and error. We are looking for the tightest fit possible.
Currently, I am using this stainless shim stock. Use a scissor to cut to size.


After you have found the perfect fitment next step is to install the barrel nut.


This barrel nut and free float tube is specially designed to free-float forend, but keep the appearance of a stock M16 or AR15 foregrip.
Use a little grease or anti-seize compound on the receiver threads and install the new
barrel nut. Tighten to 35 foot pounds, then continue tightening until the next notch lines up
with the gas tube hole in the upper. If you feel that you can not reach the next notch without
using excessive torque, sometimes backing off and retightening the nut several times will
allow you to get a little more rotation on it. You can use the new gas tube as an alignment
tool. With the end of the gas tube through the hole in the delta ring, and the upper receiver,
you should be able to place the other end of the gas tube directly over the gas port hole in
the barrel without putting any stress on the gas tube. Once you have the barrel nut tightened
to your satisfaction install the lock ring and screw it all the way onto the barrel nut.


After you're torqued, you'll want to align the spring and c-clip so that the gas tube can fit through. Take care not to scratch your finish. Apply tape if you must.


Screw the float tube onto the barrel nut. You want to screw the tube far enough onto the
nut that when the front sight is installed you have clearance between the end of the tube and
the front sight base. Keep in mind that if you have a GI contour barrel, the front sight will be
about .035 away from the shoulder when you install the pins due to the fact that we no
longer have the handguard cap sandwiched between the shoulder and front sight. Keep this
in mind when you slide the front sight on to check your clearance. If you have a WOP or
WOA barrel, they were contoured with a float tube in mind and you will want to slide the front
sight all the way against the shoulder.


Tighten float tube. Once you have determined where the float tube needs to be, unscrew
the lock ring until it touches the float tube, but do not tighten. Now, leave the lock ring where
it is and unscrew the float tube. Put a small amount of removable Loctite on the end of the
barrel nut threads. Now, screw the float tube back on the nut. As you screw it on the Loctite
will be distributed on the threads. The reason we did it this way was that we do not want any
Loctite on the lock ring. You will understand why when it is time to rebarrel. After you have
the tube screwed back on to your predetermined position, back it off about 20 degrees and
hand tighten the lock ring against the tube. Now, using a strap wrench tighten the tube
against the lock ring until it is level. You can determine the correct position by sighting along
the top of the rifle and through the notch in the end cap for the gas tube. This notch should
be in line with the gas port hole in the barrel. You can also check it by making sure the sling
swivel lug is level.
NOTE: If you think there is even the slightest possibility of scratching what you're working on wrap it with tape.


A trick to get everything lined up easier is to put it upside down then torque the gas block.


The gas block I am using is from White Oak Armament.
Can be found here:
Torque Spec: 30 inch lbs


Installing the crunch washer and flash hider you want to align the vents upward evenly. These are designed to break up flash but also prevent dirt and dust from kicking up, so it vents upward.